Cartridge Alignment Protractors: A Step-by-Step Guide
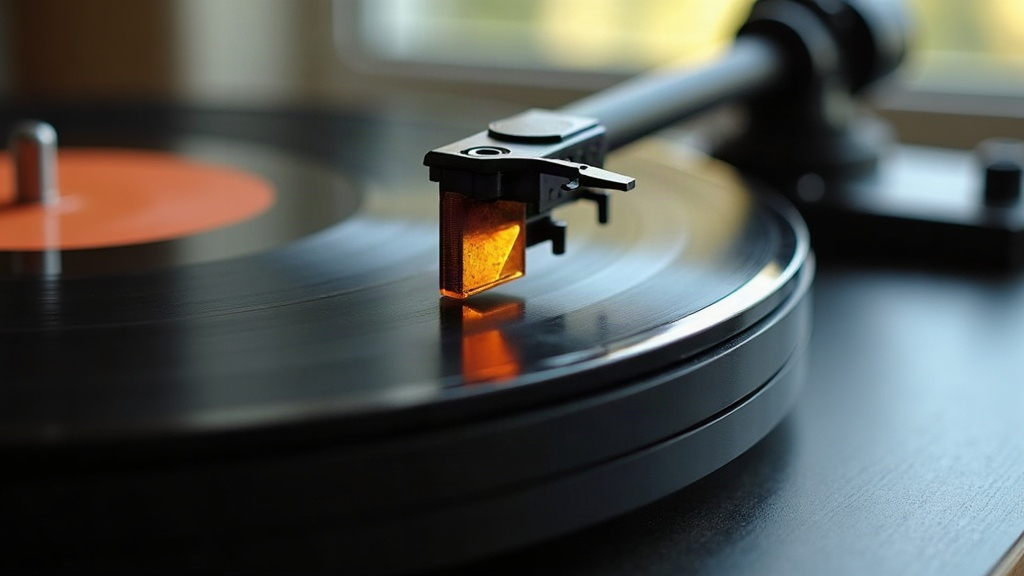
A cartridge alignment protractor is, hands down, the tool that decides whether your turntable sounds clean or muddy. This guide covers what it does, which type suits you, and how to use one properly, even if you’ve never touched a cartridge screw before.
What Is a Cartridge Alignment Protractor?
It’s a printed or laser-etched template you use to position your phono cartridge correctly on the tonearm headshell. Here’s the underlying problem: tonearms swing in an arc, but the grooves on a record were cut in a straight line by a lathe. That mismatch creates tracking error, the angle between the stylus and the groove wall, and it exists on every turntable to some degree. A protractor helps you minimize that error across the playing surface by guiding two adjustments that actually matter:
- Overhang, how far the stylus sits beyond the spindle
- Zenith angle, the rotational angle of the cartridge body relative to the groove
Nail these two things and you’ll hear less distortion, less sibilance, and more even channel balance, particularly near the inner grooves where tracking error tends to get worse no matter what you do.
Why Alignment Matters More Than People Think
A lot of listeners assume sound quality comes down to stylus shape or cantilever material, full stop. Not true. A $1,000 cartridge mounted carelessly can sound worse than a $150 cartridge set up with care. Poor alignment shows up as:
- Harsh or smeared highs
- Left/right channel imbalance
- Faster record and stylus wear
- Mistracking during loud passages
Think of it like tire alignment on a car. You can buy the best tires money can buy, but if the alignment is off, you’ll still feel it pulling to one side. Cartridge alignment works the same way: it’s foundational, not a nice-to-have tweak.
Common Alignment Geometries
Most protractors follow one of a handful of classic geometries, each designed decades ago to minimize tracking error mathematically:
- Baerwald (Löfgren A), spreads the error evenly across the whole record; generally considered the best all-around compromise
- Löfgren B, slightly lower average error overall, but the innermost grooves suffer more
- Stevenson, prioritizes the inner grooves specifically, handy if you listen to quieter passages near the label a lot (classical listeners, take note)
Not sure which one to pick? Go with Baerwald. It’s the safe, most widely recommended default, and for good reason.
Types of Protractors
Printed Paper/Card Protractors
Cheap, sometimes free, often bundled with the turntable itself. They work, technically, but parallax error creeps in easily since you’re eyeballing alignment through a flat printed grid from whatever angle you happen to be leaning at.
Acrylic/Mirrored Protractors
These add a mirrored surface so you can confirm your eye sits directly above the stylus, which kills the parallax problem outright. For under $30, this is a genuinely worthwhile upgrade over the paper version.
Adjustable Two-Point Protractors (e.g., Feickert, Dr. Feickert Universal)
These let you dial in custom null points based on your tonearm’s actual pivot-to-spindle distance, instead of assuming a generic number that may or may not match your arm. If you’re serious about setup, this is the one to buy.
Step-by-Step: How to Align Your Cartridge
- Measure your pivot-to-spindle distance (from the tonearm pivot to the platter spindle center). Check the manual first; if you can’t find it, measure it yourself with a ruler or caliper.
- Pick the protractor that matches that measurement. Generic protractors assume common distances (215mm, 222mm, and so on), and using the wrong one quietly ruins the whole alignment without you noticing.
- Drop the stylus onto the first null point marked on the protractor grid.
- Loosen the cartridge screws slightly, then rotate the cartridge body until both sides of the stylus and cantilever line up with the grid lines.
- Slide the cartridge forward or backward to fix the overhang until it sits exactly on the null point.
- Go back and check the second null point. Adjusting the first one almost always nudges the second slightly out, so expect to shuffle back and forth 3 to 5 times before both agree.
- Tighten the screws evenly (don’t crank one side down first), then recheck both points one last time before calling it done.
- Only now set tracking force and anti-skate. Cartridge position affects both, so doing this earlier just means redoing it later.
Common Mistakes to Avoid
- Using a protractor built for the wrong pivot-to-spindle distance
- Skipping the parallax check (use a mirrored protractor whenever you can)
- Tightening the screws down hard before you’ve verified the final position
- Obsessing over overhang while completely forgetting zenith angle
Final Thoughts
A cartridge alignment protractor isn’t some optional audiophile indulgence. It’s the difference between actually hearing what your cartridge can do and living with distortion you never even knew was there. Give it the extra 20 minutes with a mirrored or adjustable protractor, double-check both null points, and you’ll notice a cleaner, more balanced soundstage on pretty much every record you drop the needle on afterward.